snow white and the seven dwarfs pdf
Snow White and the Seven Dwarfs: A Comprehensive Guide (PDF Focus)
Navigating digital versions of this classic tale requires understanding legality‚ sources‚ and potential risks associated with free downloads as of January 9‚ 2026.
Understanding the Digital Availability of “Snow White”
The digital landscape offers numerous avenues to access “Snow White and the Seven Dwarfs‚” primarily in PDF format‚ but this accessibility presents complexities regarding copyright and legitimate sources. While the original Grimm’s Fairy Tale often falls into the public domain‚ Disney’s adaptation remains protected. Consequently‚ finding a completely free‚ legally sound PDF of the Disney version is challenging.
Many websites offer PDFs‚ but these frequently infringe on copyright. Users risk malware or viruses from untrustworthy sources when pursuing free downloads. Conversely‚ legally obtained PDFs‚ often through purchase‚ guarantee quality and support the creators. Understanding these distinctions is crucial before seeking a digital copy. The availability fluctuates‚ with some editions appearing and disappearing based on copyright enforcement and licensing agreements.
PDF Versions: Legality and Sources
Determining the legality of “Snow White” PDFs hinges on the version: Grimm’s tale versus Disney’s adaptation. Public domain status allows free distribution of the original Grimm version‚ readily available from sites like Project Gutenberg. However‚ Disney’s rendition is copyright-protected‚ necessitating purchase for legal access.
Legitimate sources include official Disney digital stores‚ eBook retailers like Amazon Kindle‚ and educational platforms offering licensed content. Beware of websites promising free Disney PDFs; these often violate copyright and pose security risks. Checking for ISBNs and publisher information can verify authenticity. Prioritize reputable vendors to ensure a safe and legal download. Remember‚ supporting copyright protects creators and ensures continued access to quality content.
Free PDF Downloads: Risks and Considerations

While tempting‚ free “Snow White” PDF downloads often carry significant risks. Many websites offering these files operate outside legal boundaries‚ violating Disney’s copyright and potentially distributing malware. Downloading from untrusted sources exposes your device to viruses‚ spyware‚ and other malicious software.
Furthermore‚ the quality of these PDFs is often poor‚ featuring distorted images‚ missing pages‚ or inaccurate text. These versions may lack proper formatting‚ hindering readability. Consider the ethical implications: supporting illegal downloads undermines the creative industry. Prioritize your digital security and respect copyright laws by opting for legal‚ paid alternatives. A small investment ensures a safe‚ high-quality reading experience and supports the artists involved.
Paid PDF Options: Where to Purchase Legally
Secure and high-quality “Snow White” PDF versions are readily available through legitimate online retailers. Major ebook platforms like Amazon Kindle Store‚ Apple Books‚ and Google Play Books offer authorized digital editions‚ ensuring a safe download and excellent reading experience. Disney’s official online store is another reliable source‚ often featuring exclusive editions with bonus content.
Purchasing legally supports the creators and ensures you receive a properly formatted‚ virus-free file. Prices typically range from $5 to $15‚ a small investment for a classic tale. Consider exploring different editions – illustrated versions‚ or those including supplemental materials – to enhance your enjoyment. Always verify the seller’s authenticity before completing your purchase to avoid scams.
The Story of Snow White: A Brief Overview
A princess‚ envied for her beauty‚ flees a wicked queen‚ finding refuge with seven dwarfs in a forest cottage‚ a tale of jealousy and survival.
Original Grimm’s Fairy Tale vs. Disney Adaptation
The Grimm brothers’ original “Snow White” is notably darker and more violent than Disney’s beloved adaptation. The Queen‚ in the original‚ attempts to kill Snow White multiple times‚ with the first attempt involving a laced corset‚ not a poisoned apple. The dwarfs return to find Snow White in a death-like sleep‚ and it’s a prince who revives her with a kiss – a detail retained by Disney.
However‚ the Disney version softens many harsh elements‚ focusing on romance and musical numbers. The Queen’s motivations are simplified to pure vanity and jealousy. PDF versions of the original Grimm’s tale often include scholarly notes detailing these differences‚ offering a comparative literary analysis. Disney’s adaptation prioritizes a family-friendly narrative‚ while the Grimm’s version serves as a cautionary tale with more explicit themes of envy and malice. Examining both through PDF formats reveals the evolution of storytelling.
Key Characters and Their Symbolism
Snow White embodies innocence and purity‚ often represented by her pale skin and raven hair – classic symbols of beauty and vulnerability. The Evil Queen signifies vanity and the destructive power of jealousy‚ her obsession with maintaining her beauty driving the narrative. The huntsman represents a conflicted morality‚ initially tasked with Snow White’s demise but ultimately showing compassion.
The seven dwarfs‚ each with distinct personalities‚ symbolize different aspects of labor and community. PDF analyses often explore their roles as representing the working class or facets of a single personality. The apple‚ a potent symbol of temptation and knowledge‚ leads to Snow White’s apparent death. PDF editions frequently include interpretations of these symbols‚ enriching the reader’s understanding of the tale’s deeper meanings and cultural resonance.
The Queen’s Motives: Jealousy and Vanity
The Queen’s consuming jealousy stems from her desperate need to remain the “fairest of them all‚” a vanity amplified by her magic mirror’s pronouncements; PDF analyses of the tale frequently dissect this motivation‚ exploring its roots in societal pressures and the fear of aging. Her actions aren’t merely malicious; they are driven by a profound insecurity and a distorted perception of beauty.
PDF versions often highlight the Queen’s transformation‚ both physically and metaphorically‚ as she descends into villainy. The poisoned apple symbolizes her attempt to eradicate Snow White’s innocence and beauty. Examining different PDF editions reveals varying interpretations of the Queen’s character‚ some portraying her as a purely evil figure‚ while others offer a more nuanced understanding of her psychological state and the societal forces at play.
The Seven Dwarfs: Roles and Personalities
The Seven Dwarfs‚ each with a distinct personality defined by their names – Doc‚ Grumpy‚ Happy‚ Sleepy‚ Bashful‚ Sneezy‚ and Dopey – provide shelter and protection to Snow White. PDF analyses often explore their symbolic roles‚ representing different facets of human nature and offering a communal support system absent in the Queen’s court.
PDF versions frequently detail how the dwarfs’ labor in the mines symbolizes hard work and a simple life‚ contrasting sharply with the Queen’s opulent and superficial existence. Different editions may emphasize certain dwarfs’ characteristics more than others‚ impacting the narrative’s focus. Educational PDFs utilize the dwarfs to teach children about teamwork‚ acceptance‚ and the importance of kindness‚ highlighting their collective role in Snow White’s survival.
Analyzing “Snow White” PDF Content
PDF editions showcase diverse illustrations and textual variations; some are tailored for education‚ offering lesson plans‚ while others simplify the story for young children.
Illustrations in Different PDF Editions
The visual experience of “Snow White” PDFs varies significantly depending on the source and edition. Older‚ scanned PDFs often feature illustrations directly from vintage storybooks‚ exhibiting a classic‚ sometimes faded aesthetic. These images may lack the crispness of digitally created artwork.
Conversely‚ newer PDF versions‚ particularly those designed for digital distribution‚ frequently boast vibrant‚ high-resolution illustrations. Some editions incorporate artwork inspired by the original Grimm’s tale‚ while others draw heavily from Disney’s iconic animation style.
Notably‚ educational PDFs may include simplified or line-art illustrations geared towards coloring activities or visual learning. The presence‚ quality‚ and style of illustrations are key differentiators when comparing various “Snow White” PDF offerings‚ impacting the overall reading experience and appeal to different audiences.
Textual Variations Across PDF Versions
“Snow White” PDFs exhibit notable textual differences stemming from their origins. Versions based on the original Grimm’s Fairy Tale often retain darker‚ more violent elements absent in the Disney adaptation‚ impacting the narrative’s tone and themes. Digitally transcribed PDFs may contain OCR errors‚ resulting in typos or misinterpretations of the original text.
Disney-licensed PDFs generally adhere to the studio’s standardized script‚ ensuring consistency in dialogue and plot points. However‚ even within Disney versions‚ slight variations can occur due to different publishing dates or editorial choices.
Furthermore‚ PDFs intended for children frequently feature simplified language and abridged storylines. Careful comparison reveals these textual nuances‚ influencing comprehension and the overall storytelling experience for readers of all ages.
PDFs for Educational Purposes: Lesson Plans
Numerous PDF resources cater to educators utilizing “Snow White” in the classroom. These lesson plans frequently focus on themes of jealousy‚ vanity‚ and the importance of inner beauty‚ aligning with character analysis exercises. PDFs often include discussion questions prompting critical thinking about the Queen’s motives and Snow White’s vulnerability.
Creative writing prompts encourage students to rewrite scenes from different perspectives‚ fostering empathy and narrative skills. Some PDFs offer activities centered around character mapping‚ plot diagrams‚ and identifying literary devices.
Furthermore‚ educators can find PDFs with coloring pages‚ vocabulary exercises‚ and comprehension quizzes designed to reinforce learning. These resources effectively transform the fairy tale into an engaging and educational experience for students of various age groups.
PDFs for Children: Simplified Storytelling
Many PDF versions of “Snow White” are specifically tailored for young children‚ offering simplified narratives and vibrant illustrations. These adaptations often condense the original Grimm’s tale‚ removing potentially frightening elements and focusing on core themes of kindness and bravery. The language used is typically age-appropriate‚ employing shorter sentences and simpler vocabulary.
These PDFs frequently feature larger font sizes and more visual content‚ enhancing engagement for early readers. Some include interactive elements like coloring pages or simple puzzles related to the story.
The emphasis is on presenting a positive and accessible version of the classic fairy tale‚ ensuring a delightful reading experience for young audiences. These simplified PDFs aim to instill a love of reading and storytelling from an early age.
Technical Aspects of Snow White PDFs
PDFs vary in file size and resolution; Adobe Reader or alternatives are needed for compatibility‚ optimizing readability across devices‚ and accessibility features.
File Size and Resolution Considerations
When exploring “Snow White” PDFs‚ file size significantly impacts download speed and storage space. Larger files‚ often containing high-resolution illustrations‚ demand more bandwidth and disk capacity. Conversely‚ smaller files might compromise image quality‚ resulting in a less visually appealing reading experience.
Resolution‚ measured in DPI (dots per inch)‚ determines image clarity. Higher DPI values yield sharper images‚ crucial for detailed illustrations within the story. However‚ excessively high resolution can inflate file size unnecessarily. A balance must be struck between visual fidelity and practicality.
Consider your intended viewing device. Reading on a smartphone or tablet may not necessitate the same high resolution as printing. Optimizing PDFs for specific devices ensures a smooth and enjoyable reading experience‚ minimizing loading times and maximizing clarity.
PDF Compatibility: Adobe Reader and Alternatives
Adobe Reader remains the industry standard for viewing “Snow White” PDFs‚ ensuring consistent formatting and feature access. However‚ numerous alternatives exist‚ offering varying levels of compatibility and functionality. Foxit Reader‚ SumatraPDF‚ and even web browsers like Chrome and Edge can open and display PDF files.
Compatibility issues can arise with older or non-standard PDF versions. Some PDFs may require specific fonts or plugins to render correctly. If encountering display errors‚ updating Adobe Reader or trying an alternative viewer is recommended.
Ensure your chosen PDF reader supports interactive elements‚ such as bookmarks and hyperlinks‚ if present in the “Snow White” PDF. Testing across multiple platforms—Windows‚ macOS‚ mobile—verifies consistent readability and functionality for all users.
Optimizing PDFs for Reading on Different Devices
To ensure an optimal reading experience of “Snow White” PDFs across various devices‚ consider file size and resolution. Larger files load slowly on mobile devices‚ while low resolution impacts image clarity. Reflowing text allows adaptation to smaller screens‚ enhancing readability on smartphones and tablets.
Utilizing PDF optimization tools can compress images and remove unnecessary data without significant quality loss. Zoom functionality is crucial for detailed illustrations. Interactive elements‚ like bookmarks‚ should be tested on different platforms.
Accessibility features‚ such as tagged PDFs‚ improve compatibility with screen readers. Previewing the PDF on multiple devices—phones‚ tablets‚ computers—identifies potential layout or formatting issues before widespread distribution.

Accessibility Features in Snow White PDFs
Ensuring “Snow White” PDFs are accessible to all readers is paramount. Tagged PDFs‚ utilizing semantic structure‚ allow screen readers to interpret content correctly‚ benefiting visually impaired users. Alternative text descriptions for images are crucial‚ conveying visual information to those unable to see them.
Proper heading structures (H1‚ H2‚ etc.) facilitate navigation for screen reader users. Sufficient color contrast between text and background enhances readability for individuals with low vision.
Keyboard navigation should be fully functional‚ allowing users to interact with the PDF without a mouse. Consider providing transcripts for any audio or video content.
Snow and Winter Imagery in the Tale
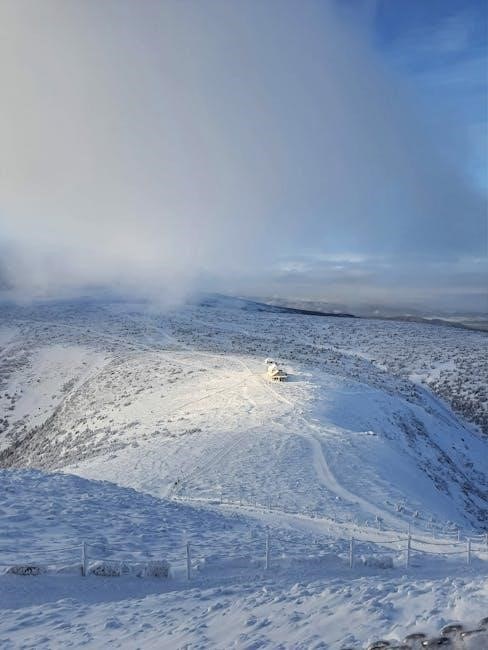
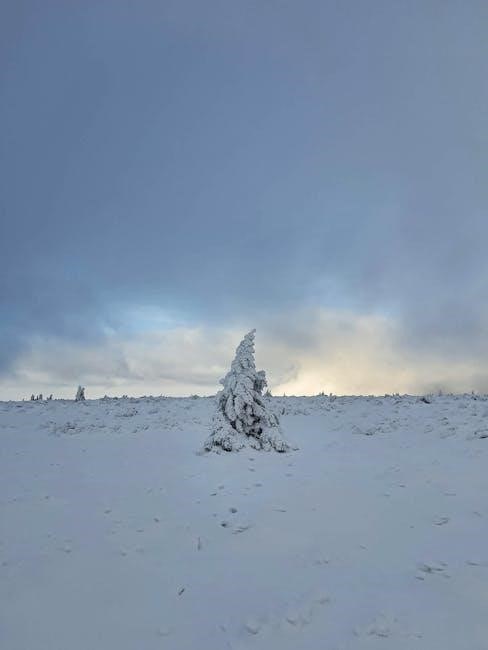
The pervasive snow and winter motifs symbolize isolation‚ danger‚ and the princess’s vulnerability‚ mirroring real-world travel disruptions due to severe snowfall.
The Symbolic Significance of Snow
Snow‚ beyond its literal presence as frozen precipitation‚ carries profound symbolic weight within the narrative of Snow White. Representing purity and innocence‚ it mirrors the princess’s untainted heart and beauty‚ contrasting sharply with the Queen’s darkness and envy. The very name “Snow White” emphasizes this connection‚ establishing snow as integral to her identity.
However‚ snow also embodies danger and isolation. The huntsman is commanded to leave Snow White in the snowy woods‚ a landscape representing peril and abandonment. This chilling environment underscores her vulnerability and the threat to her life. Furthermore‚ the blanket of snow can symbolize a covering‚ a concealment of truth‚ or a frozen emotional state.
Considering PDF versions‚ illustrations often highlight the stark contrast between the white snow and the characters’ coloring‚ visually reinforcing these symbolic meanings. The digital format allows for detailed examination of these visual cues‚ enhancing understanding of the tale’s deeper layers.
Winter as a Metaphor for Isolation and Danger
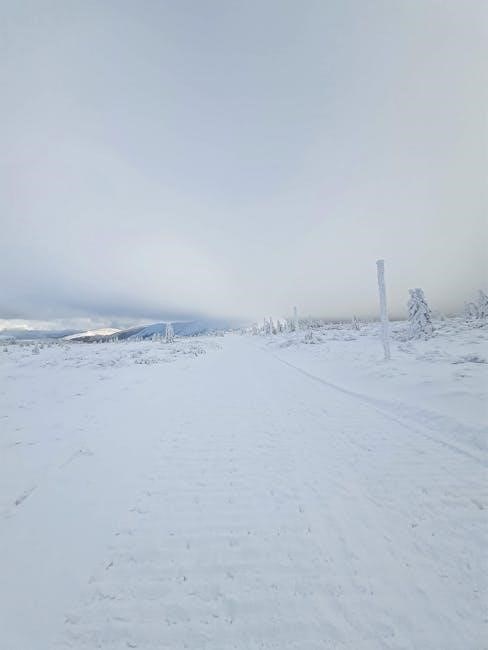
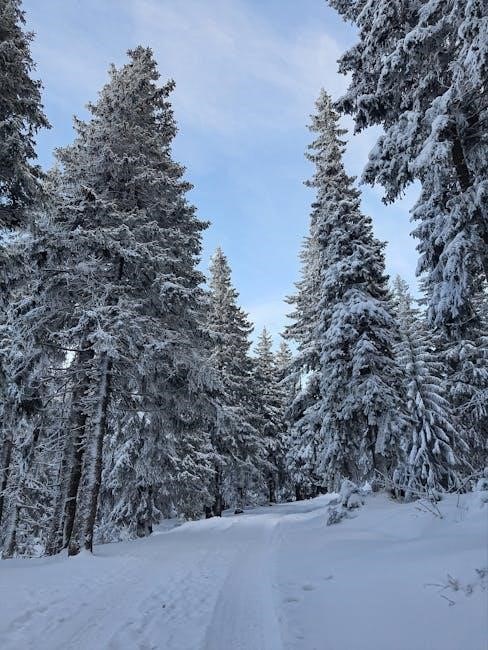
Within “Snow White‚” winter functions as a potent metaphor for isolation‚ vulnerability‚ and the perilous journey towards self-discovery. The snowy forest‚ where Snow White flees‚ isn’t merely a setting; it’s a representation of her emotional state – cold‚ lonely‚ and fraught with uncertainty. The disruption caused by snowfall‚ mirroring real-world travel issues reported on January 9‚ 2026‚ amplifies this sense of being cut off from the world.
The harshness of winter mirrors the Queen’s cruelty and the dangers Snow White faces. The frozen landscape emphasizes her helplessness and dependence on the kindness of strangers – the seven dwarfs. PDF versions of the tale‚ particularly illustrated editions‚ often visually emphasize this bleakness‚ using color palettes to convey the chilling atmosphere.
Analyzing these PDFs reveals how the winter setting isn’t just background; it’s an active force shaping the narrative and Snow White’s character arc.
Snowfall and Travel Disruption (Real-World Connection)
The narrative of Snow White‚ particularly her flight through the woods‚ resonates with contemporary experiences of travel disruption caused by severe snowfall‚ as reported on January 9‚ 2026‚ across Europe. Intense winter weather‚ mirroring the tale’s setting‚ creates obstacles and heightens vulnerability. Examining PDF versions of the story allows for a comparative analysis – how the narrative’s depiction of challenging journeys aligns with real-world events;
The Queen’s command to the huntsman to abandon Snow White in the forest evokes images of individuals stranded during blizzards. PDFs containing illustrations often emphasize the vastness and unforgiving nature of the snowy landscape‚ mirroring news reports of travel chaos.
This connection underscores the enduring relevance of the fairy tale‚ demonstrating how its themes of peril and resilience remain potent even in a modern context‚ readily accessible through digital PDFs.
Snow Reports and Winter Weather Patterns
Analyzing contemporary snow reports alongside PDF versions of “Snow White” reveals a fascinating interplay between fictional narrative and real-world meteorological data as of January 9‚ 2026. The tale’s reliance on a snowy‚ isolated forest setting gains resonance when contextualized with current winter weather patterns across Europe‚ where intense snowfall has caused widespread disruption.
PDFs often depict the forest as a place of both beauty and danger‚ a sentiment echoed in reports detailing the hazards of winter travel. Examining snowfall accumulation data alongside illustrations within the PDFs highlights the story’s atmospheric accuracy.
Furthermore‚ provisional data from stations‚ though unofficial‚ adds a layer of realism to the narrative‚ grounding the fairy tale in observable environmental conditions‚ readily available through digital PDF access.
Cultural Impact and Adaptations
“Snow White” profoundly impacts popular culture‚ inspiring winter activities and travel‚ even amidst European travel disruptions due to heavy snowfall as of today.
“Snow White” in Popular Culture
The enduring tale of Snow White transcends its origins‚ becoming a cornerstone of popular culture‚ frequently adapted and referenced across various media. The story’s themes of jealousy‚ beauty‚ and overcoming adversity resonate deeply‚ influencing countless films‚ television shows‚ and literary works. Digital PDF versions‚ while convenient‚ contribute to the story’s continued accessibility and spread.
Beyond direct adaptations‚ “Snow White” motifs appear subtly in modern narratives. The “damsel in distress” trope‚ though often critiqued‚ finds roots in Snow White’s vulnerability. The symbolic power of the poisoned apple persists as a shorthand for temptation and danger. Even winter-themed entertainment‚ like snowboarding and skiing – activities gaining traction as reported on SNOW.cz – can be indirectly linked to the story’s evocative snow and winter imagery. The tale’s influence extends to fashion‚ art‚ and even everyday language‚ solidifying its place as a cultural touchstone.
Snow White-themed Winter Activities
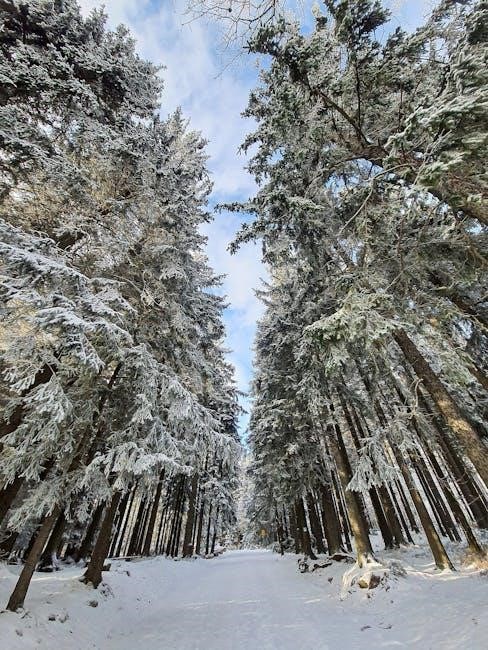
Embracing the winter wonderland evoked by “Snow White‚” families and educators can create themed activities‚ enhancing the story’s magic and fostering creativity. Consider crafting miniature dwarf cottages from gingerbread or sugar cubes‚ mirroring the cozy shelter Snow White discovered. Snowflake-making‚ inspired by the tale’s prominent snow imagery‚ offers a hands-on artistic experience.
For a more adventurous outing‚ a visit to a ski resort – like those featured on SNOW.cz – can subtly connect to the story’s winter setting. Imagining the dwarfs navigating snowy slopes adds a playful dimension. Story-based scavenger hunts‚ with clues hidden amongst snowdrifts‚ encourage exploration. Reading PDF versions of the tale aloud during a cozy winter evening further immerses participants in the narrative. These activities transform the story from a passive experience into an interactive‚ memorable adventure‚ celebrating both the tale and the season.
Snowboarding and Skiing Locations (Inspired by the Tale)
While “Snow White” doesn’t explicitly feature snowboarding or skiing‚ the story’s pervasive winter setting naturally lends itself to imagining the dwarfs enjoying these slopes. Europe‚ currently experiencing intense snowfall and travel disruption (as of January 9‚ 2026)‚ offers numerous destinations. SNOW.cz highlights various resorts in the Czech Republic‚ providing snow reports and forecasts – perfect for planning a themed trip.
Consider resorts in the Alps‚ evoking a fairytale landscape. Picture the dwarfs carving through powder‚ their small stature adding to the charm. Locations near forests‚ reminiscent of the story’s woods‚ enhance the immersive experience. Downloading a “Snow White” PDF for reading during downtime adds a literary touch. These destinations‚ combined with the tale’s imagery‚ create a unique winter adventure‚ blending fantasy and real-world excitement‚ offering a magical escape for all ages.
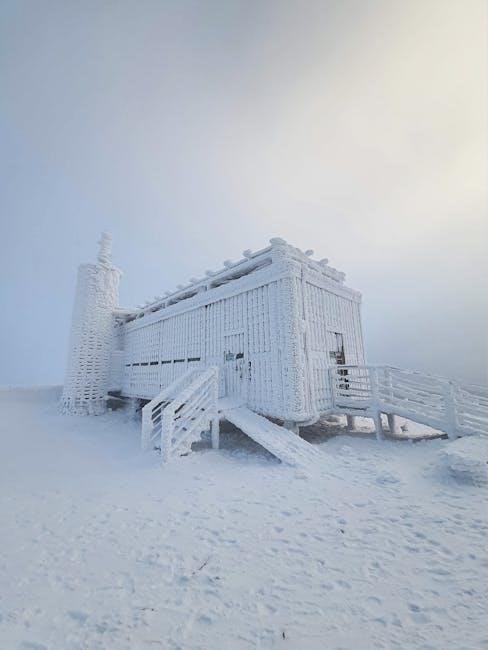
European Travel Disruption Due to Snow (Current Events)
As of January 9‚ 2026‚ intense snowfall across Europe is causing widespread travel chaos‚ mirroring the perilous journeys within the “Snow White” narrative. Reports indicate six fatalities linked to weather-related incidents‚ highlighting the dangers of winter conditions. This disruption impacts transportation networks‚ echoing Snow White’s vulnerability in the forest.
Accessing a digital “Snow White” PDF could be a welcome distraction for stranded travelers‚ offering a comforting escape during delays. The story’s themes of isolation and navigating a harsh environment resonate with current realities. While enjoying the tale‚ remember to consult official travel advisories and prioritize safety. The situation underscores the power of nature‚ a force prominently featured in both the fairytale and present-day news‚ reminding us of winter’s beauty and potential hazards.